# Assets
This page will let you create assets as well as reuse of existing assets in any episode.
Assets are classified into categories. The default categories are:
- Backgrounds
- Characters
- FX
- Props
- Shots
Additionnal categories may be defined if needed on a given project.
The create asset and create reuse buttons let you choose between the creation of asset(s)
or the creation of reuse(s).

# How to create assets
Assets can either be created one by one or several at a time through the importation of a csv file.
The New button will be used to create an individual asset, the download icon will prompt you for a csv file
thus creating several assets at once.
# Creation of an asset
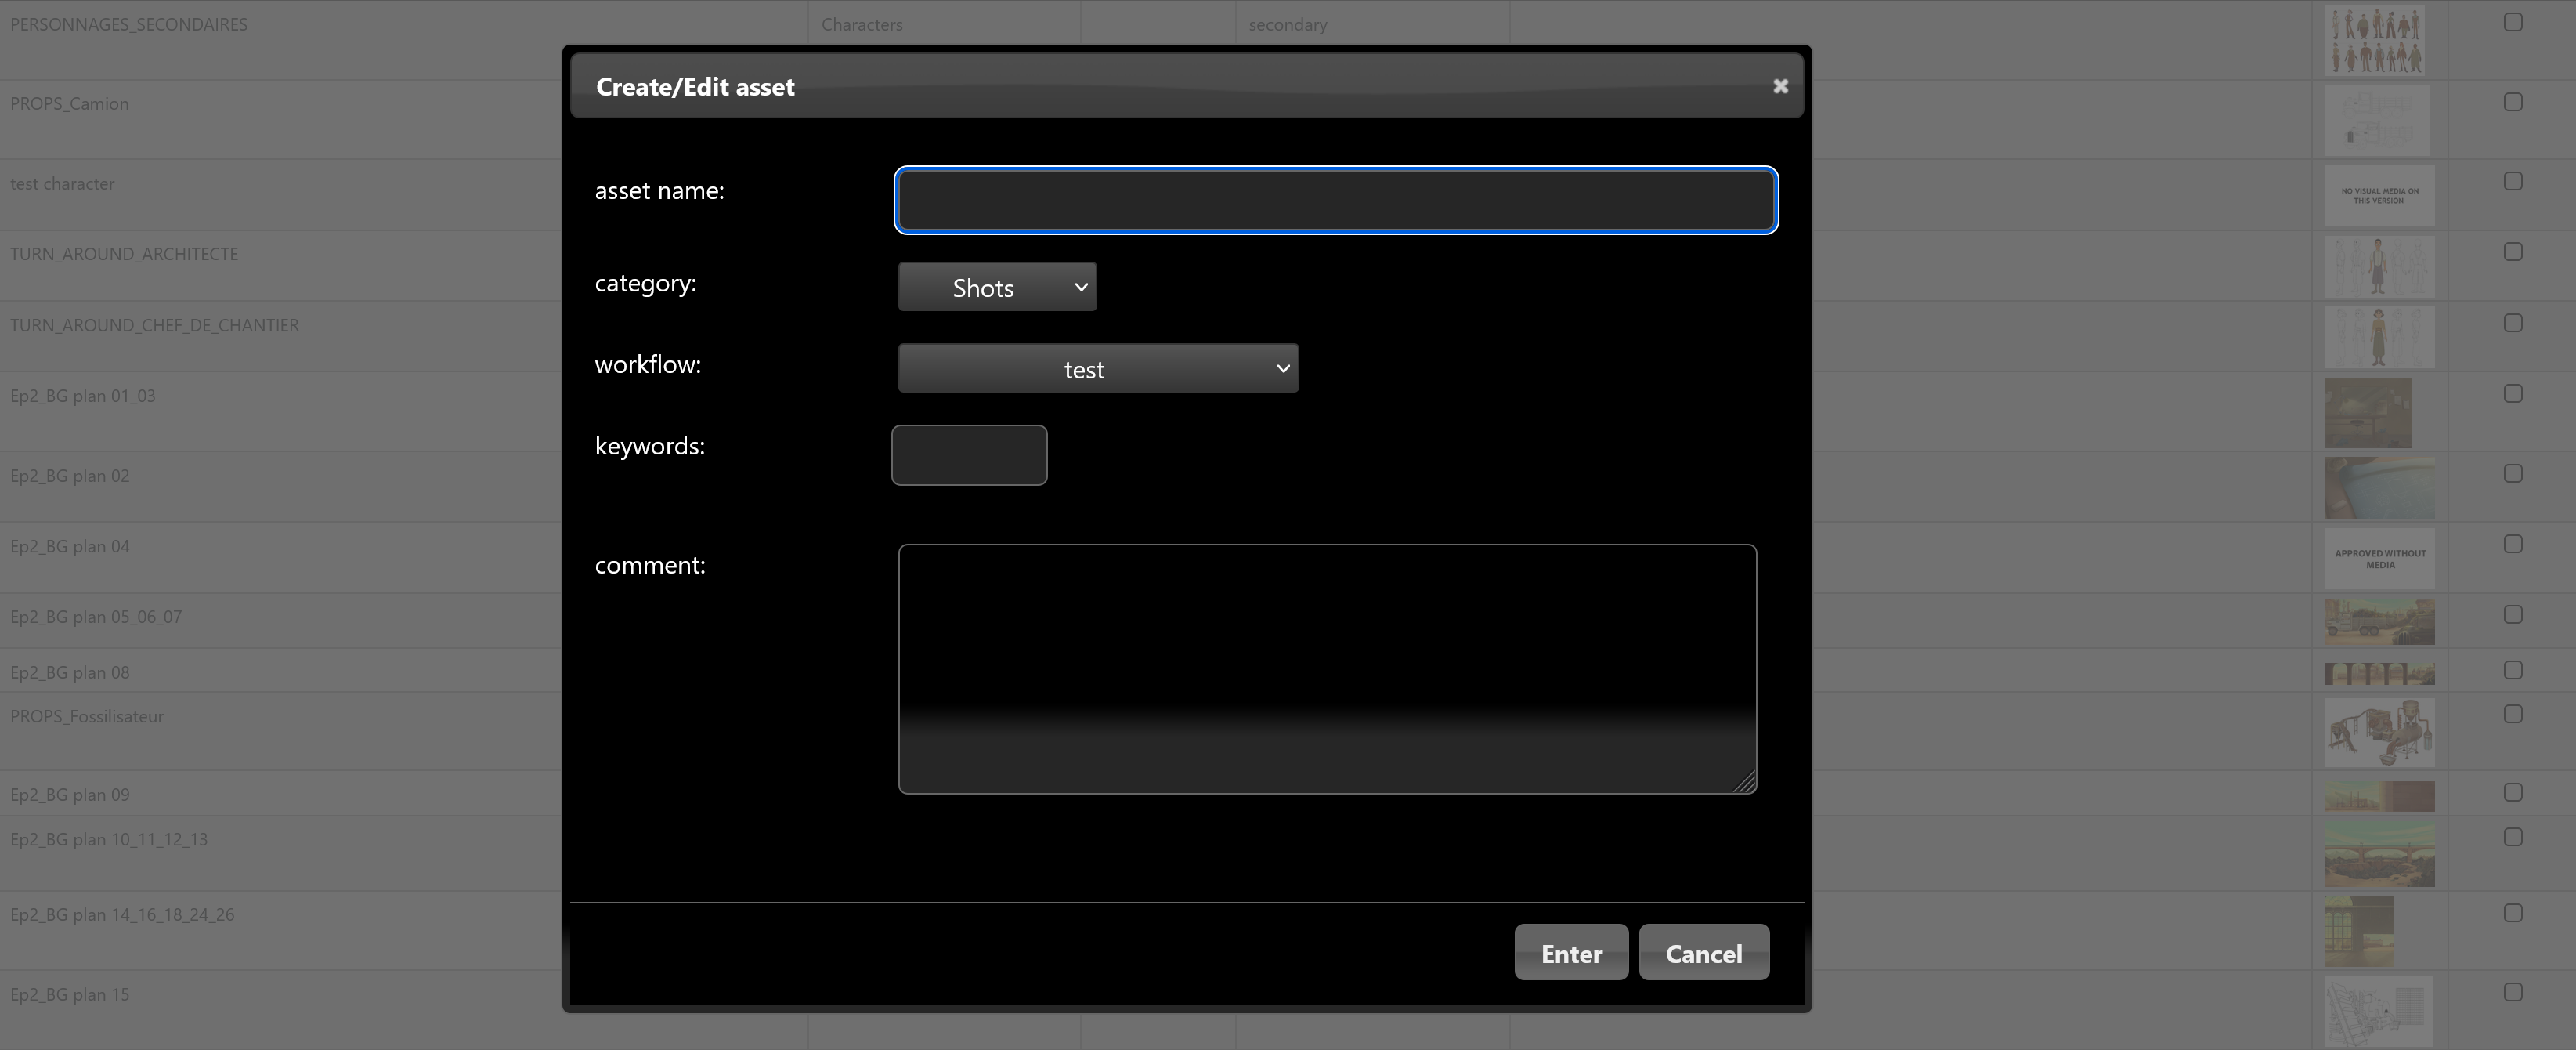
Once you selected the episode you want the asset to be created in, the asset creation/edition menu
will be displayed upon clicking on the New button.

Fill the asset name field, select the category and the workflow followed by your newly created asset. You may also give several keywords by typing words in the keywords field to further characterize your asset. You may then specify a comment which will appear at the "asset creation" step. The keywords and comment field are optional. When you click Enter, your asset will be created and displayed in the selected episode.
# Creation of several assets
Importing a csv file will allow you to create or rename several assets at once.
# Creating assets
In order to create assets, the format of the csv file must follow the following structure:

In the episode column, the project prefix should precede the episode number (in this example, NEO is the project prefix and 002 the episode number). The project prefix is defined in the project setting section. In the keywords column, keywords should be separated by the SPACE character. The "ID workflow" is optional, if omitted, assets will be assigned to the default asset workflow called ASSET CREATION. IDs of existing workflow may be found in the workflow editor.

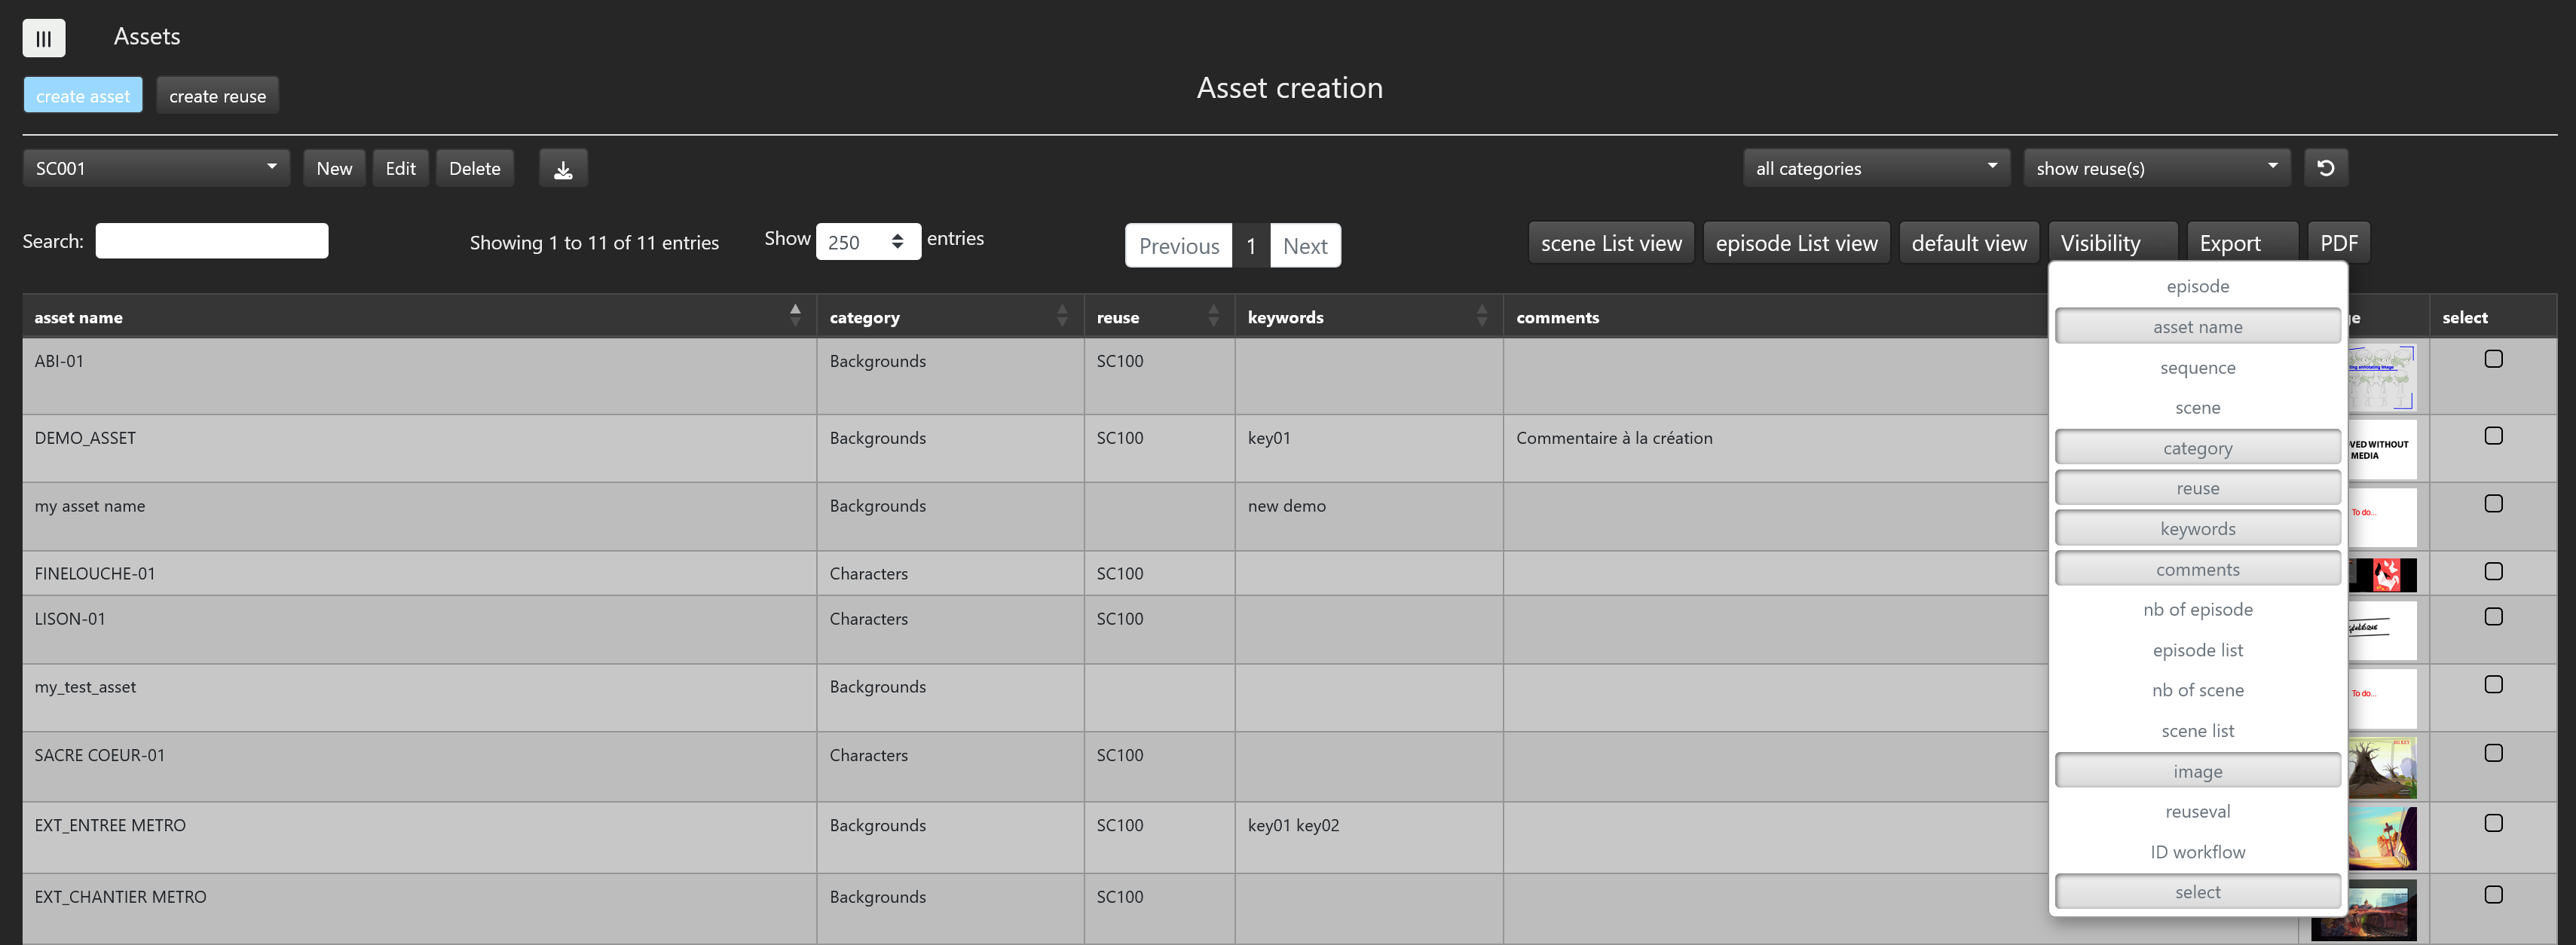
The assets ID workflow can also be displayed by selecting the ID workflow in the Visibility pulldown menu.
TIP
In order to get the proper format for the csv file, you may display any list of assets then select episode and ID workflow from
the Visibility pulldown menu, then export the list in csv format. You may then edit this file according to your needs.
Note that the creation of assets is done only if no errors are found in the csv file. When one or more errors occur, a message describing each error will be displayed and no assets will be created.
# Renaming assets
If you wish to rename several assets at once, the imported csv file must have the following structure:

Note that assets will be renamed only if no errors were found in the csv file. When one or more errors occur, a message describing each error will be displayed and no assets will be renamed.
# How to create reuses
The create reuse button allows you to create reuse.

To create a reuse, you first search the asset you want to include as a reuse in the set of existing assets. The search name and keyword fields can be used to specify which asset(s) you are looking for. The keyword field has the autocomplete capability which means that when you type in a letter, it will propose you the list of already existing keywords which have that letter in their name.
If you want to display all the assets of the project, just hit return on an empty reuse name field with no keywords selected.
In the following example, we asked for all assets which have the keyword "key01":

The keywords you eventually selected will appear in blue just below the search fields, if you want to remove a previously selected keyword just click on it, it will be removed and the search result list will be updated accordingly.
Once you found the asset(s) you would like to add as a reuse, just select them, select the episode you want to add those reuse in and
hit the Add reuse button.
The selected assets will be added as reuses in the selected episode.
